When it comes to small-batch production, many might initially think of machining as the go-to option for resin-based products. While machining can handle small quantities, it becomes cost-prohibitive when dealing with higher numbers.
If machining isn’t cost-effective or injection molding isn’t feasible for moderate quantities, ARRK, specializing in small-batch production of resin products, recommends “vacuum casting.” Vacuum casting is ideal for batch sizes ranging from a few to several dozen pieces. In this discussion, we’ll delve into the details of vacuum casting.
Vacuum casting is well-suited for the small-batch production of products such as:
Complex shapes that are challenging for one-piece processing.
Two-color injection molding.
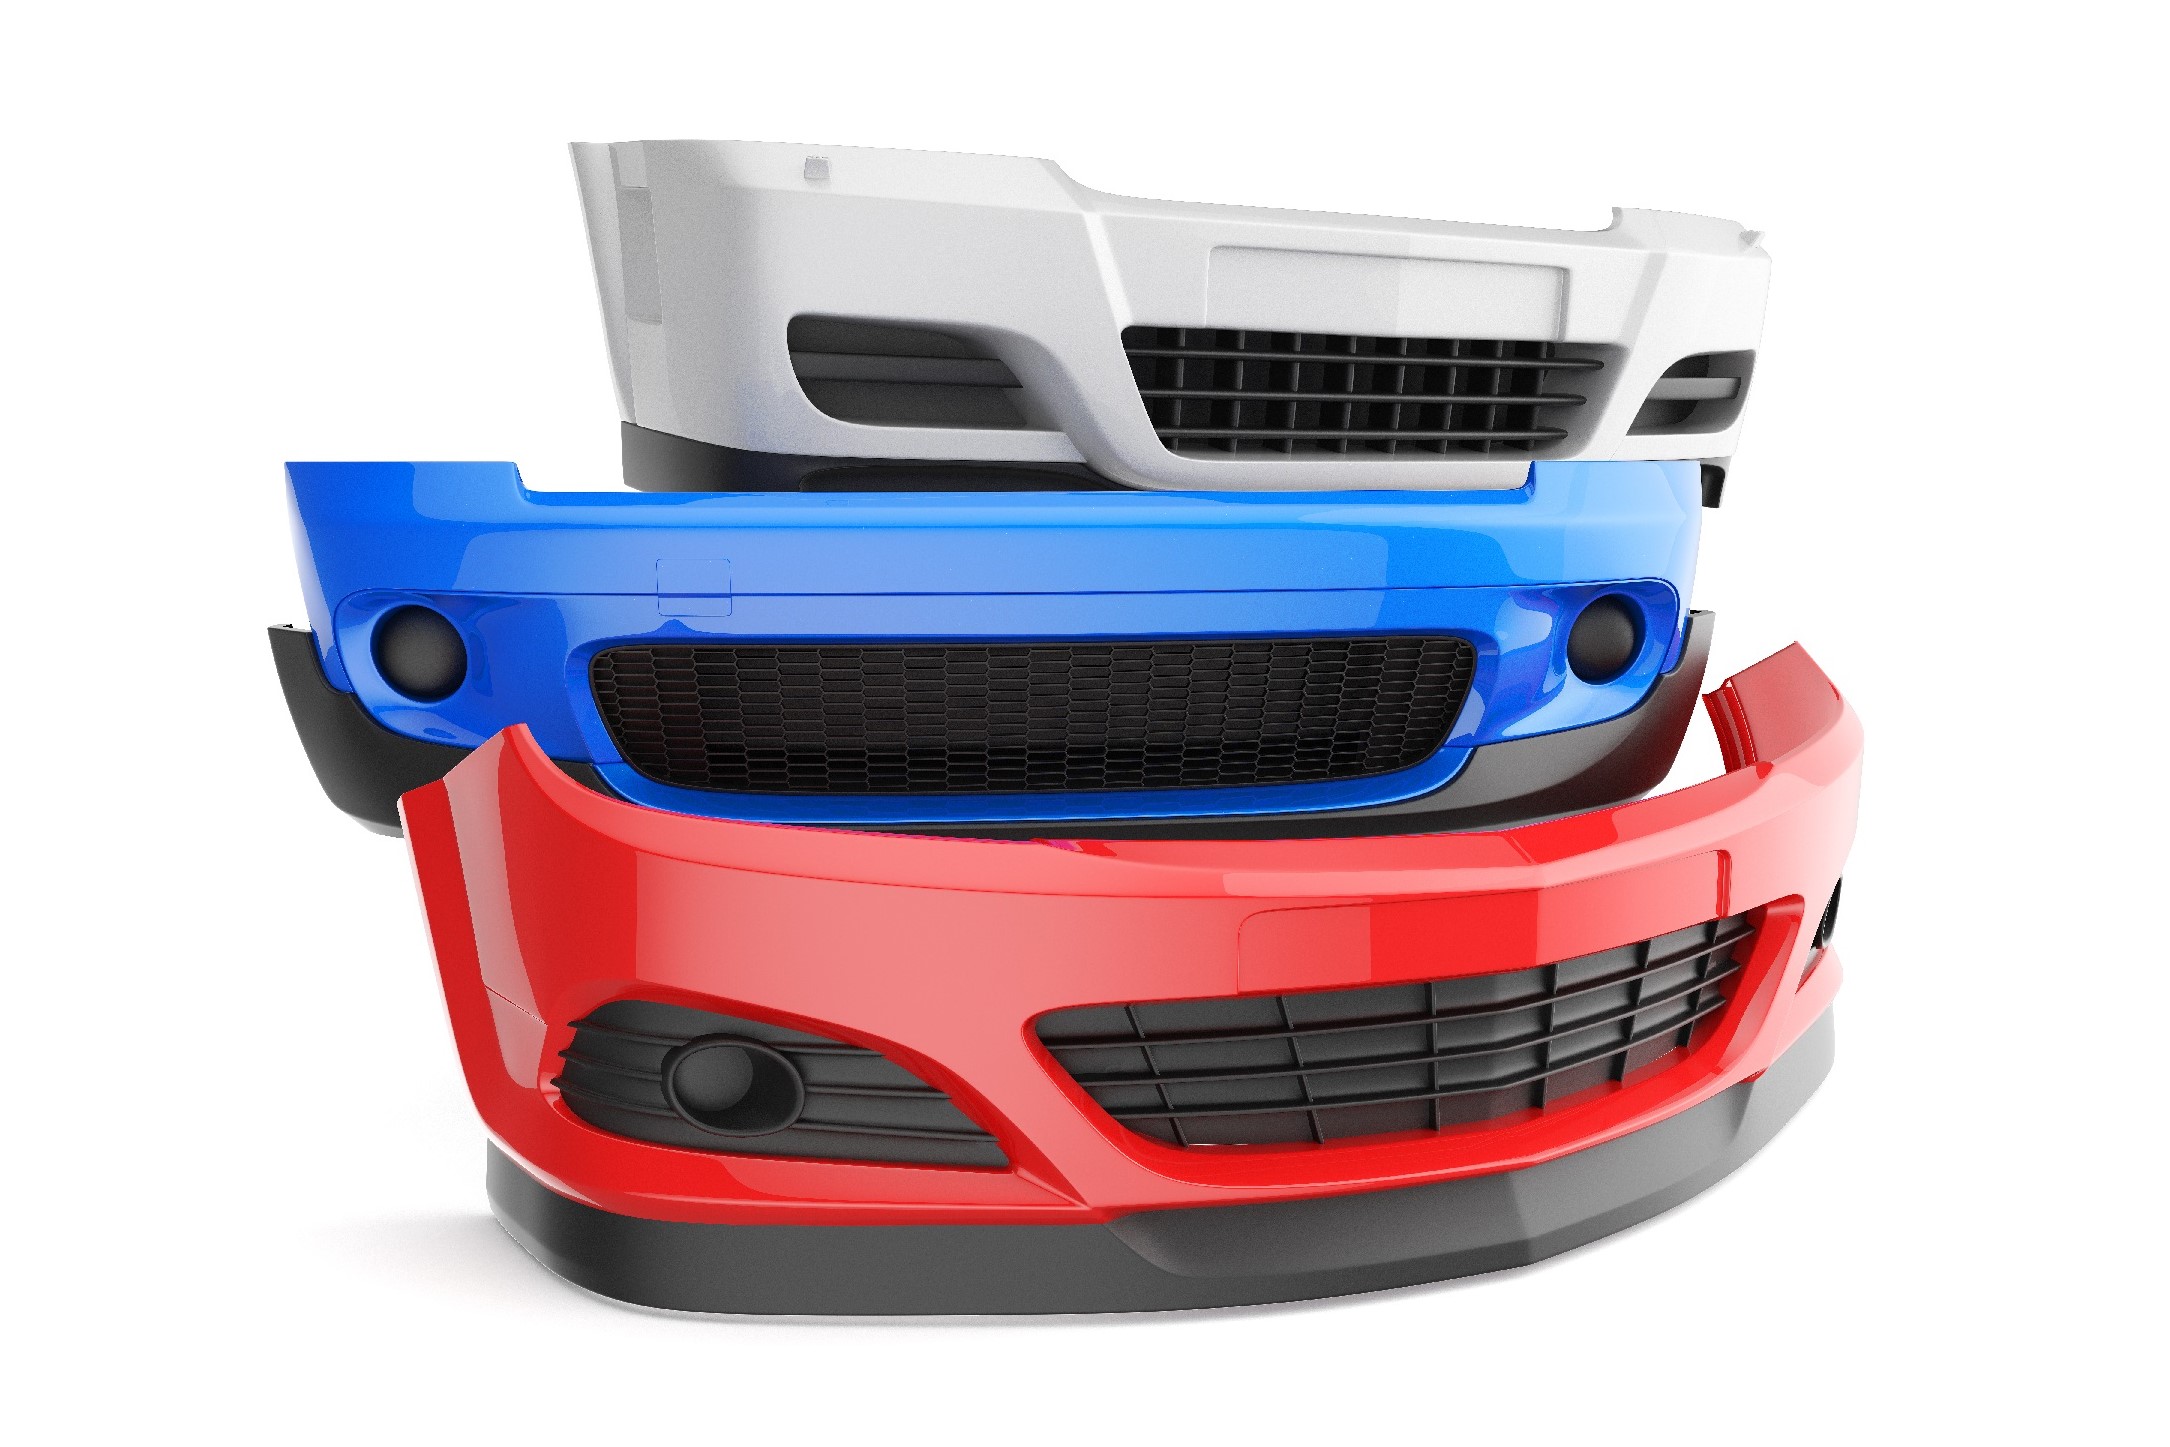
Vehicle bumpers
Large household appliance exterior components.

Vacuum casting is a processing method that was developed around 1980. Despite being over 40 years since its establishment, it continues to be a method frequently used for prototyping and low-volume production.
In vacuum casting, a mold is created using silicone rubber based on a master model, and the resin is then poured into the mold under vacuum. Since replicas are created based on the master model, the master model itself is generated through methods like photopolymerization or machining, and molds are created from it.
After mold creation, the mold is divided using a female mold, the master model is removed, and the casting process begins. The casting process occurs in a vacuum, ensuring the resin flows into every nook and cranny of the mold, minimizing the presence of bubbles.
Vacuum casting typically involves using a two-component curing resin rather than thermoplastic resins used in injection molding. Common resin choices include “urethane-based resins” and “epoxy-based resins.”
A notable feature of vacuum casting is the use of silicone rubber molds. Conventional molds often require multiple processes such as “mold design → machining → assembly,” which can take over a month for completion.
On the other hand, vacuum casting requires only mold creation, allowing for rapid production and significant reduction in lead time and initial costs. However, due to the durability limitations of silicone rubber molds, they reach the end of their lifecycle after producing around 15 to 20 pieces. For production beyond this limit, multiple molds need to be created.
The advantages of vacuum casting include:
– Rapid response to short lead times.
– Low initial costs.
– Ability to create complex shapes.
– Suitable for large products.
– Color customization.
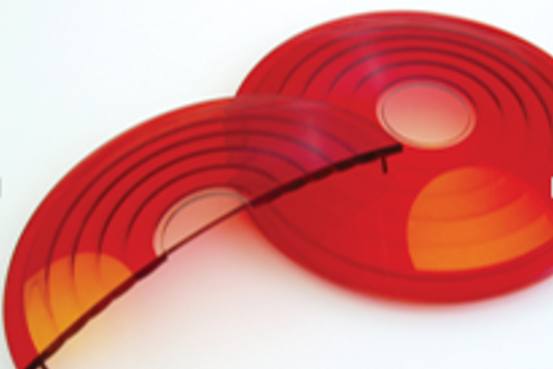
– Production of transparent products.
Compared to mold creation, vacuum casting allows for manufacturing at much shorter lead times and lower initial costs. Vacuum casting excels in scenarios like mock-ups for exhibitions, prototyping multiple pieces, and small-batch production.
Additionally, vacuum casting offers high reproducibility, making it particularly suitable for reproducing complex shapes. Even products with intricate shapes that would be labor-intensive with machining can be easily replicated with vacuum casting. Since the mold is made of silicone rubber, undercut features can be extracted, allowing for more design freedom in appearance. By integrating multiple designed parts into a single unit, product costs can be reduced, and lead times shortened.
Even for large products like car bumpers, large TVs, or refrigerator exterior components, vacuum casting allows for cost-effective replication. When cost-effectiveness is a concern due to the size and complexity of the product, vacuum casting truly shines.
Furthermore, in vacuum casting, color samples can be used to select specified colors. In machining, the color is often selected from pre-made block materials, but with vacuum casting, the resin can be colored, offering a wider range of color options.
Moreover, ARRK possesses techniques that minimize the formation of bubbles in vacuum casting, making it an excellent choice for producing high transparency products.
While vacuum casting shines in small-batch production, there are some constraints to consider. Thus, it’s recommended to use it in conjunction with other manufacturing methods.
– Shorter mold lifespan (15-20 pieces).
– Limited cost benefits for simple shapes.
– Limited material variety.
– Difficult to maintain dimensional accuracy for larger sizes.
Because vacuum casting employs silicone rubber molds, their lifespan is shorter compared to simple molds. Depending on the product’s complexity, the mold’s lifespan is around 15-20 pieces. If production continues beyond this limit, accuracy may diminish, and the mold could become damaged.
Additionally, despite its high reproducibility, vacuum casting may struggle to achieve cost benefits for overly simple shapes. In such cases, machining might be recommended instead. If you’re considering simple shapes, please consult us for advice.
Furthermore, in vacuum casting, since the mold is made of rubber, complex shapes can cause mold distortion, leading to a decrease in dimensional accuracy. Particularly, if a product has thin sections or areas with low thickness, achieving the desired precision might be challenging. Therefore, meticulous consultations with our technicians are necessary when precision is crucial.
The primary materials used in vacuum casting are two-component curing resins such as urethane and epoxy. Among these, the most commonly used materials are:
– ABS-like
– PP-like
– Acrylic-like
– Urethane rubber
– Silicone rubber
Materials with names like “like” correspond to approximate equivalents, so there might be cases where genuine ABS or PP materials are required. In such instances, we might propose methods involving machining or simple molds.
Vacuum casting can utilize softer materials like urethane or silicone rubber. Given that hardness can be specified, vacuum casting is effective for prototyping rubber products. If you’re not achieving the desired precision in your rubber prototypes, please don’t hesitate to consult us.
Let’s explore the step-by-step process of vacuum casting.
Step 1: Creating the Master Model
First, create a master model, which serves as the original prototype. Master models are typically crafted through methods like photopolymerization or machining. When using photopolymerization, a 3D model is all that’s needed for creation.
Step 2: Making the Silicone Mold
Attach a sprue, a material injection point, to the master model, and place it inside the mold frame. Also, determine the parting line, which separates the mold, and apply tape along this line to ensure easy separation of the product.
After placing the master model inside the mold frame, pour silicone rubber, the mold material, and use a vacuum degassing machine to remove air bubbles. Once the rubber has cured, separate the mold along the parting line using a female mold, remove the master model, and the silicone mold is complete.
Step 3: Casting in a Vacuum Environment/b>
Insert the assembled silicone rubber mold into the vacuum device and inject the resin material.
Once injection is complete, place it inside a drying oven and cure the material at the appropriate temperature. The curing time varies depending on the resin but generally takes around 1 to 2 hours.
Step 4: Demolding and Finishing
After curing, remove the product from the mold.
Remove any gate or flash manually and perform final finishing on the product to complete the process.